Modern Business Card Complete Layer Set: Design Simplified
In the world of business, first impressions are often the only impressions that matter. When you hand over a business card, you aren't just sharing contact information; you are offering a tangible piece of your brand's identity. A flimsy, poorly designed card can suggest a lack of attention to detail, while a polished, professional design speaks volumes about your standards. For designers, entrepreneurs, and business owners, the challenge has always been balancing high-end aesthetics with the technical demands of print production. This is where having the right design assets becomes critical, specifically a resource that bridges the gap between digital creativity and physical reality.
The Anatomy of a Professional Template
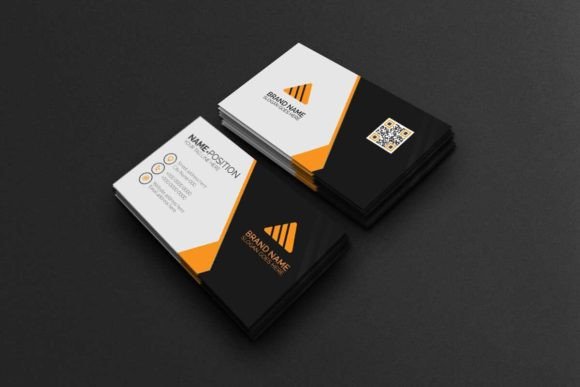
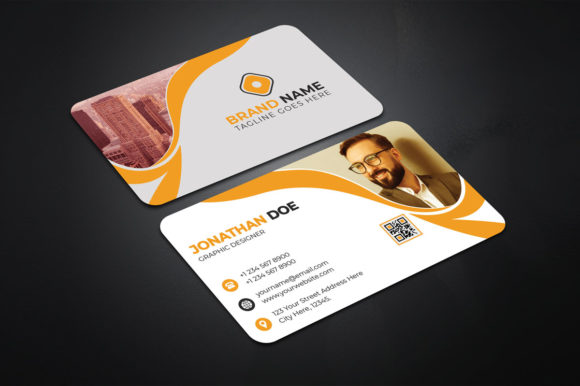
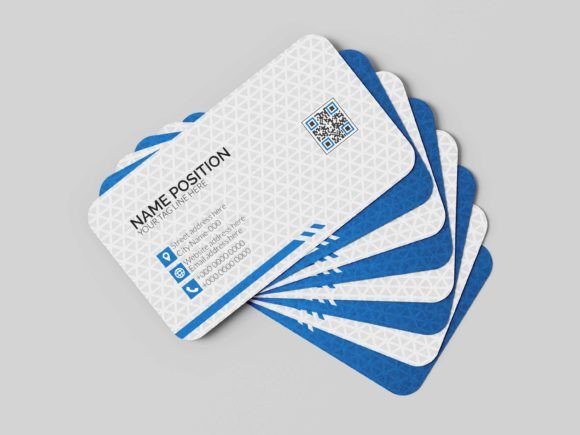
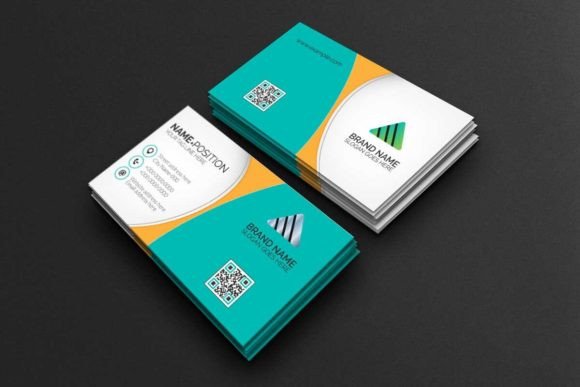
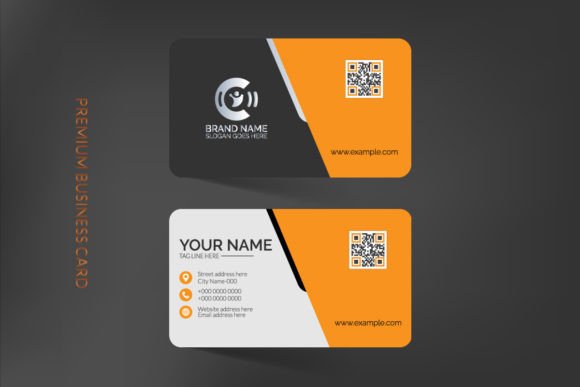
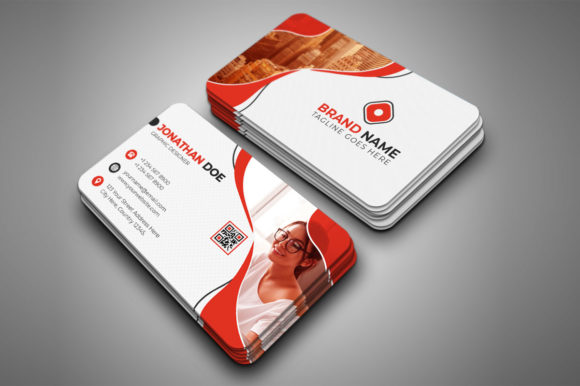
When we talk about a Modern Business Card Complete Layer Set, we are referring to much more than just a static image. This is a corporate business card template design built within Adobe Photoshop, engineered specifically for professional use. The "complete layer setting" is the hero feature here. Unlike flattened files where you struggle to move elements around, a fully layered PSD file allows you to deconstruct the design. You can isolate the logo, change the background texture, alter text colors, and adjust spacing without ruining the integrity of the overall layout. It is the difference between a locked PDF and an open canvas.
The visual appeal of a modern template lies in its structure. These designs typically embrace clean lines, ample white space, and a hierarchy that guides the eye naturally from the name to the title, and finally to the contact details. It is not just about looking pretty; it is about functionality. The organized layers ensure that even if you aren't a Photoshop expert, you can navigate the file intuitively. This structure saves time, which is a commodity that business owners and freelancers cannot afford to waste.
Technical Precision: Why Specs Matter
One of the most common pitfalls in DIY design is the lack of technical specifications. You might create a beautiful design on screen, only to have it print blurry or cut off at the edges. A high-quality template set solves this by providing print-ready settings out of the box. We are talking about 300 DPI (dots per inch), which is the gold standard for sharp print quality, ensuring that your text and graphics don't look pixelated when held in hand.
Furthermore, the use of CMYK Color Mode is essential. While screens use RGB (Red, Green, Blue) to display light, printers use CMYK (Cyan, Magenta, Yellow, Key/Black) to apply ink. Using an RGB file for printing often results in dull, muddy colors that look nothing like what you saw on your monitor. A professional template comes pre-set in CMYK, saving you the headache of color conversion.
Standardization is also key. The 3.5x2 inches dimension is the universal standard in the United States, ensuring your card fits into wallets and cardholders perfectly. However, the inclusion of a 0.25 inches bleed is what separates amateur work from professional print jobs. The bleed is the extra margin around the edge of your design that allows printers to cut the card down to size without leaving unprinted white edges if the cut is slightly off. Additionally, the inclusion of die cut and trim marks provides a guide for the printer, ensuring the final product is exactly as intended.
Streamlining the Creative Process
For the busy entrepreneur or the creative agency juggling multiple clients, efficiency is paramount. The "easy to edit" nature of a complete layer set cannot be overstated. Because the file is optimized for Photoshop CC, it utilizes the latest software capabilities for smooth performance. You don't need to be a master of complex masking techniques; the layers are named and grouped logically.
Consider the font choice. The template utilizes a free font, which is a massive advantage. Often, designers purchase a template only to realize it uses a premium typeface that costs an additional $50 to license. By using high-quality, free fonts, the barrier to entry is lowered, and licensing complications are avoided. The included help file is another lifeline, offering detailed instructions and direct links to download the necessary typography. This ensures that from the moment you open the file, you can begin customizing without missing assets.
Visual Consistency and Brand Recognition
A business card does not exist in a vacuum. It is part of a larger ecosystem of brand identity. When you use a structured template, you can easily extract design elements—such as color codes, font pairings, and layout ratios—to apply to other marketing assets. This creates visual consistency across your social media graphics, website, and packaging.
For example, if the template uses a specific sans-serif font for headers and a clean serif for body text, you can apply that same pairing to your blog posts and email newsletters. This repetition builds brand recognition. When a client sees your card, visits your Instagram, and then lands on your website, the visual language should feel familiar. A cohesive design strategy signals professionalism and builds trust, which is crucial for converting leads into customers.
Practical Applications Beyond the Card
While the primary function is a business card, the value of a Modern Business Card Complete Layer Set extends further. The design principles contained within the file—balance, typography, and spacing—are applicable to a wide range of print materials.
- Invitations: Adapt the layout for corporate events or product launches.
- Posters: Use the typography hierarchy for promotional flyers.
- Merchandise: Apply the branding elements to stickers or packaging inserts.
- Editorial Layouts: The clean structure works well for magazine ads or press kits.
By mastering the layers in this set, you essentially learn how to manipulate professional-grade design assets for any digital product or physical item you need to create.
Choosing the Right Style for Your Audience
Not every template fits every brand. When selecting a design, consider your target audience. A law firm or financial consultant might gravitate toward a template with a structured grid, heavy use of navy or charcoal, and a strong serif typeface to convey stability and trust. Conversely, a freelance photographer or a trendy coffee shop might prefer a design with more whitespace, a modern sans serif font, and perhaps a subtle texture or accent color to convey creativity and approachability.
The "modern" aspect of the design usually implies minimalism. It strips away the clutter of older design trends—like heavy drop shadows or complex borders—in favor of the content itself. This modern typography approach ensures that the card doesn't look dated in six months. It focuses on readability and elegance.
Finalizing Your Design for Print
Once you have customized your layers—swapped the logo, updated the phone number, and tweaked the colors—the final step is preparation for output. Because the file is set up with die cut and trim lines, you can easily export a version for your printer that includes these guides. This communicates to the print shop exactly where the card should be cut, ensuring a safe margin for your text and graphics.
Always review your final artwork at 100% zoom. Check for spelling errors (spell check doesn't catch everything in Photoshop), ensure your text is within the safe zone (away from the bleed edge), and verify that your colors are indeed in CMYK. The Photoshop CC version compatibility ensures that you have access to the latest proofing tools to catch these details before sending the file to the press.
Investing time in a solid foundation like a complete layer set pays dividends. It removes the technical guesswork, allowing you to focus on what really matters: the message and the brand story you want to tell. Whether you are a seasoned graphic designer looking for a quick base to modify, or a small business owner taking control of your own branding, having a print-ready, organized, and editable template is an indispensable part of your creative toolkit.